
Written by Divyanshi Bhamri, QA Engineer at MyGate
1. Introduction
Hello again. This is the third article of a series on performance testing with Locust. I strongly suggest that you take a look at part 1, 2 of the series so that you are ready with environment setup and basic script knowledge.
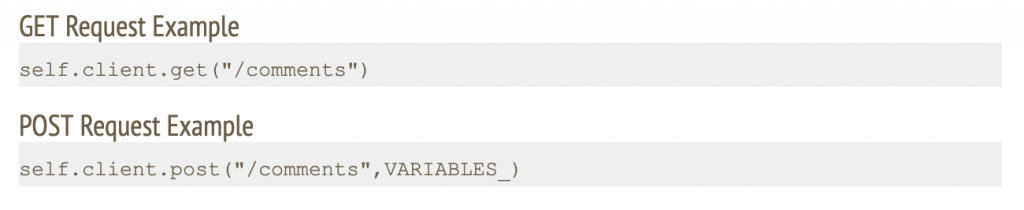
By now you should be familiar with issuing GET requests to an endpoint using Locust. Today I will be speaking about how to make a POST request and extract a response.
The primary difference between a GET and POST request is that the latter is accompanied with a content body. This content can be JSON data, form parameters or multi-form data.
Note: We are going to use jsonplaceholder [2] and reqres [3] restful web services to demonstrate our examples.
2. Case: Making POST request with JSON body
In this scenario, we will make a POST request to /api/users at https://reqres.in along with the following JSON body.

Step 1: Save this script with .py extension. I have saved this script as today2.py.
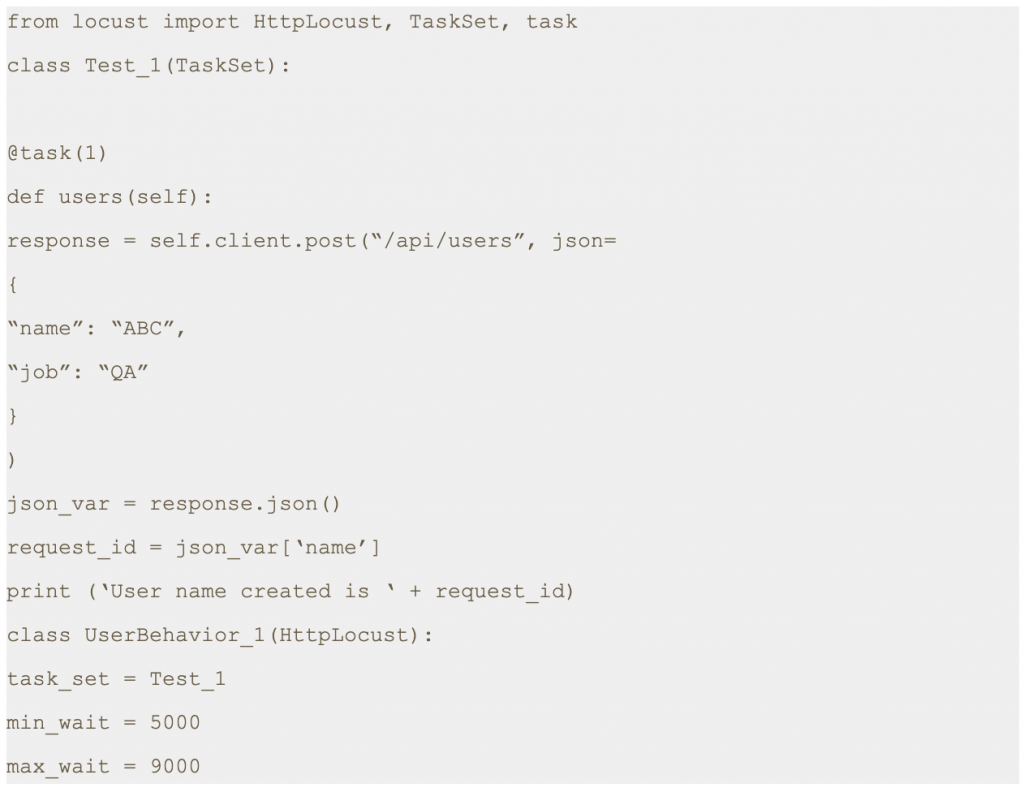
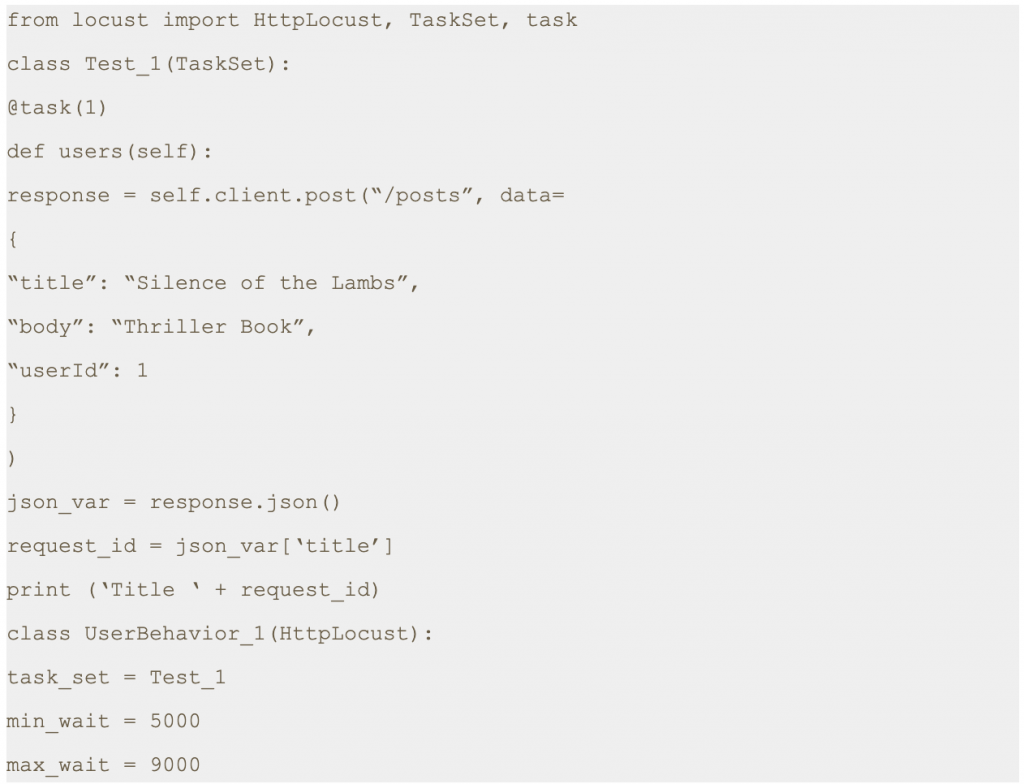
Note: First, you need to assign a response to the output of the POST request. Second, you should convert the response body to a JSON string. Finally, you should extract the desired value by using a JSON expression.
The last line is going to print the result on the terminal. It is optional.
Step 2: Run the following command.

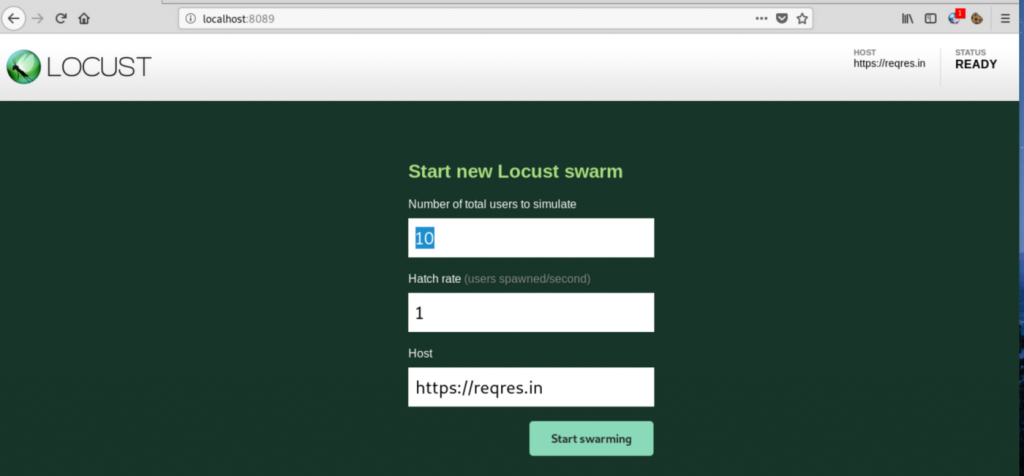
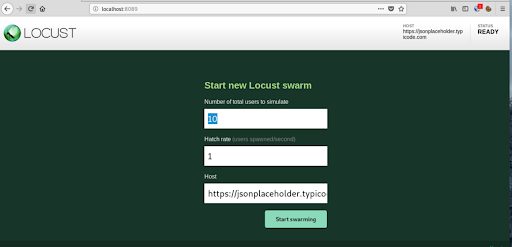
Step 3: Open a browser and navigate to http://localhost:8089
Step 4: Once the page loads, enter the number of users and hatch rate. Click on the ‘Start swarming’ button.
Step 5: Check Locust UI. The test process should have started automatically.
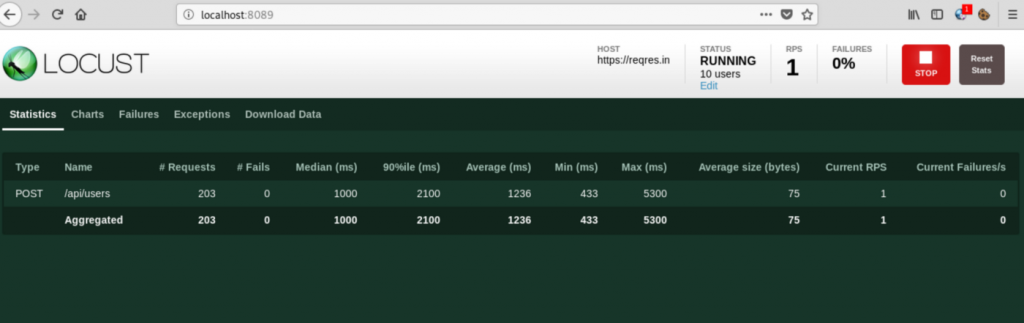
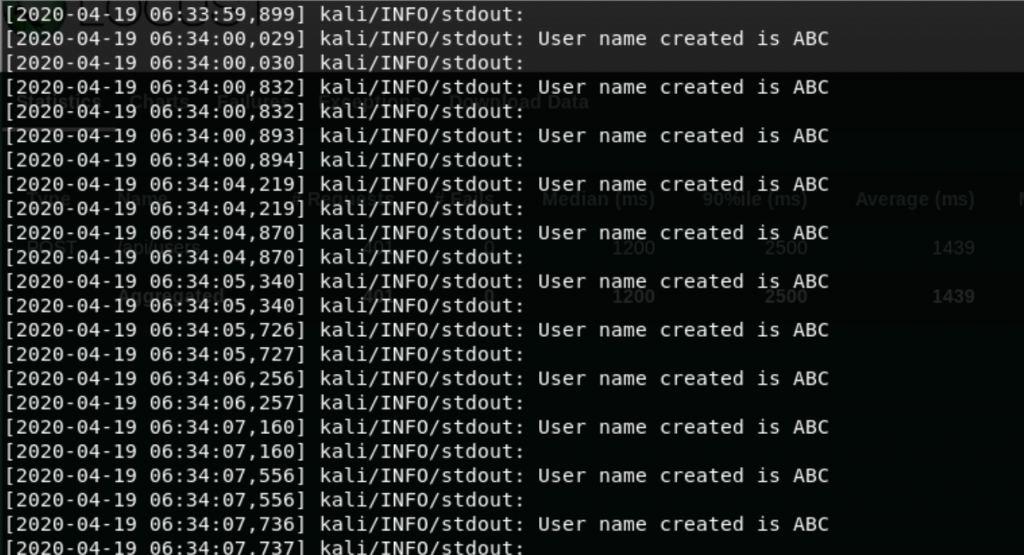
Note: In the script shared above we have printed a response attribute which is part of the sent request. This prints the name of the user as shown in the console.
3. Case: Make POST Request with Form Data
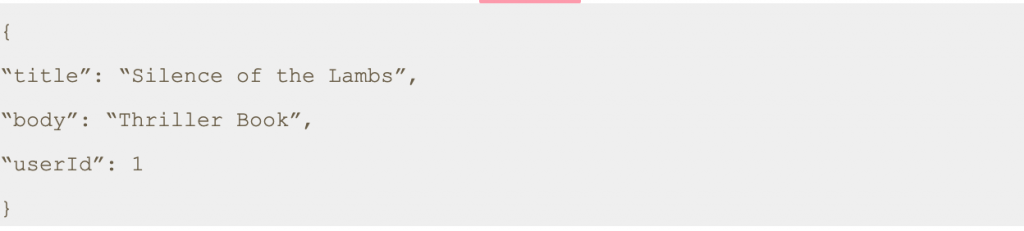
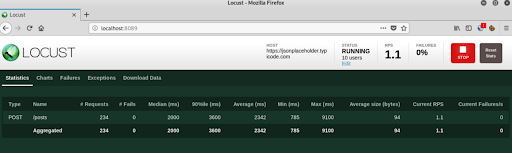
In this scenario, we will make a POST request to /posts at https://jsonplaceholder.typicode.com with following form data.
Step 1: Save this script with .py extension. I have saved the file as today3.py.
Step 2: Run the following command.

Step 3: Open a browser and navigate to http://localhost:8089
Step 4: Once the page loads, enter the number of users and hatch rate. Click on the ‘Start swarming’ button.
Step 5: Check Locust UI. The test process should have started automatically.
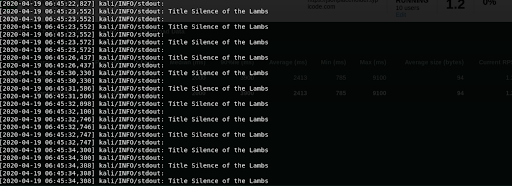
Note: In the script shared above we have printed a response attribute which is part of the sent request. This prints the title as shown in the console.
4. Conclusion
This is the third article of its series. In the next post we will learn about how to send authenticated requests using locust.
Thanks for reading. I hope this article helps you trigger POST requests.
References
[1] Locust Documentation.
https://docs.locust.io/
[2] Mock API
https://reqres.in/api
[3] Fake Online REST API for Testing and Prototyping
https://jsonplaceholder.typicode.com/
Disclaimer
This is a curated post of an article published at Medium.